How many tarts do you want to bake?
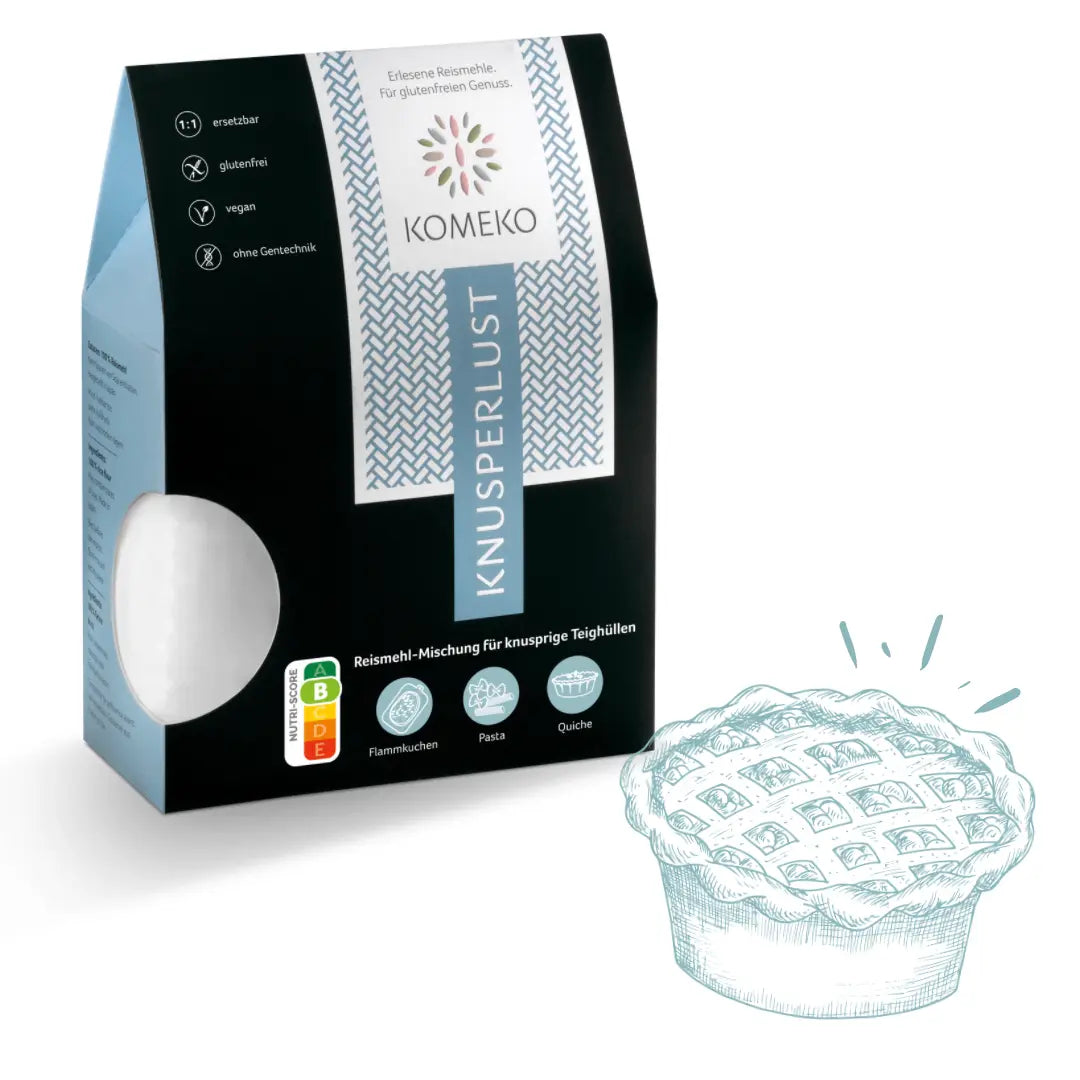
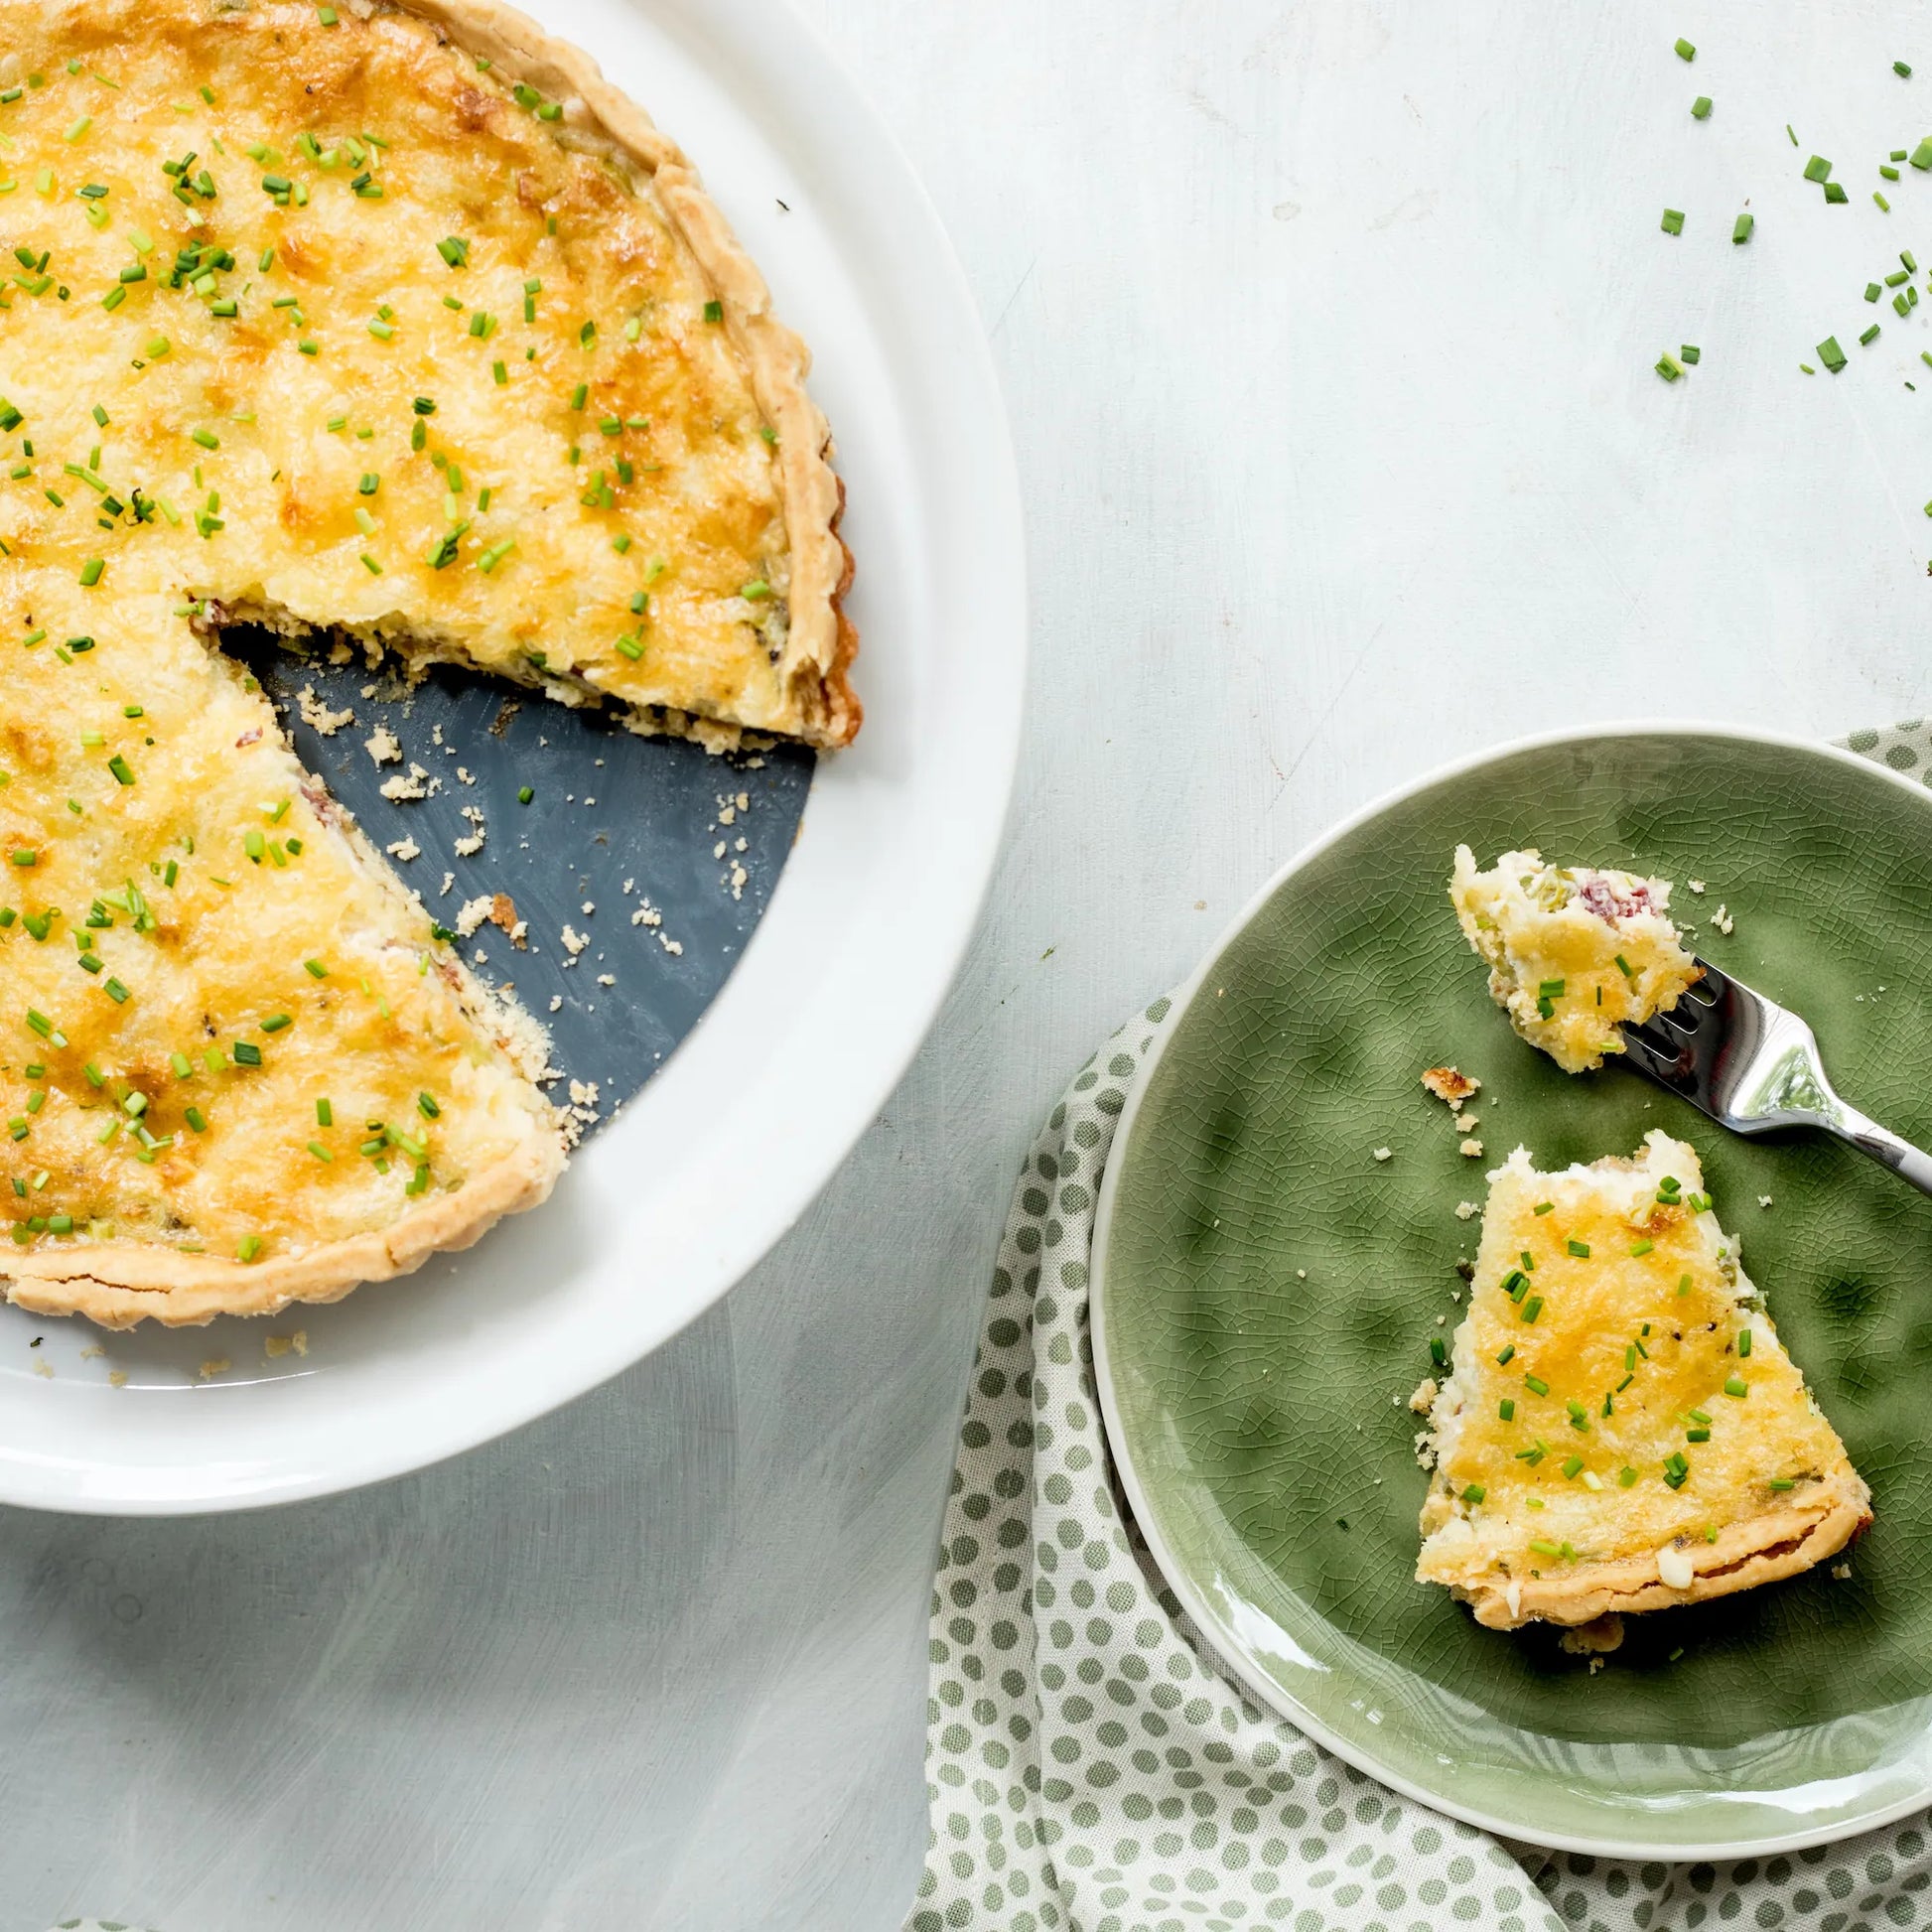
This gluten-free and vegan chocolate pear tart combines melt-in-your-mouth chocolate with juicy pears for an irresistibly aromatic treat. The shortcrust pastry, made with KOMEKO KNUSPERLUST and buckwheat flour, is wonderfully crisp, while the creamy chocolate and almond filling adds a delightful nutty flavor. Perfect for cozy autumn days or as a festive dessert.
#gluten-free
#vegan
#Autumn

Ingredients
For the dough:
-
2
tbsp chia seeds
-
4
tbsp water (lukewarm)
-
125
g
KOMEKO KNUSPERLUST
-
125
g buckwheat flour
-
1
tbsp psyllium husks
-
4
tbsp baking cocoa
-
125
g margarine (vegetable)
-
1
Pinch of salt
-
5
tbsp water (cold)
-
60
g sugar
For the cream:
-
70
g ground almonds
-
70
g margarine (vegetable)
-
70
g icing sugar
-
2
tbsp baking cocoa
-
60
g applesauce
-
1
tsp cornstarch
For the topping:
-
3
pears
-
Chopped hazelnuts

Preparation
- Prepare chia seeds:
Mix chia seeds with lukewarm water and let them soak for 15 minutes. - Make the dough:
Mix KOMEKO KNUSPERLUST, buckwheat flour, psyllium husks, cocoa powder, margarine, and salt in a bowl. Add chia seeds, cold water, and sugar, and knead to form a smooth dough. - Leave to rest:
Shape the dough into a block, wrap it in cling film and let it rest in the refrigerator for 2 hours. - Prepare the cream:
Cream together margarine, powdered sugar, and cocoa powder. Fold in applesauce and cornstarch, mix well, and chill for 30 minutes. - Preheat oven:
Preheat oven to 180°C fan-forced. - Prepare the pears:
Peel, core, halve and cut into wedges. - Shape the tart:
Roll out the dough on baking paper and shape it into a large circle. - Fill:
Spread the almond cream on the base, leaving a 4 cm border. - Prove:
Place pear wedges on the cream, fold the edges of the dough over the pears and sprinkle with chopped hazelnuts. - Bake:
Bake the tart for 40 minutes, let it cool slightly, and serve. Enjoy!


